Set up Jetsy from your phone, one short guide at a time.
Six guides. Each one is a few numbered steps and says how long it takes. Do them in order the first time, or jump to the one you need.
Your first sign-in
From Try free to your Today screen.
≈ 3 MINUTES- On getjetsy.com tap Try free.
- Type your name, your business name and your cell. Pick your trade from the list. Pick Other if it is not there.
- Set a password of at least 8 characters. A short sentence you will remember works well.
- You land on Today. Tap each tab at the bottom once, just to see what is there: Today, Proposals, Work orders, Invoices, Customers, Business, Setup.
- Add Jetsy to your home screen: in Safari tap Share, then Add to Home Screen. It opens like an app from now on.
No card is asked for. The free week is Jetsy 1.0, the office; nothing is deleted when it ends.
↑ All guidesForward your number to Jetsy
Keep the number your customers know. Jetsy answers what you miss.
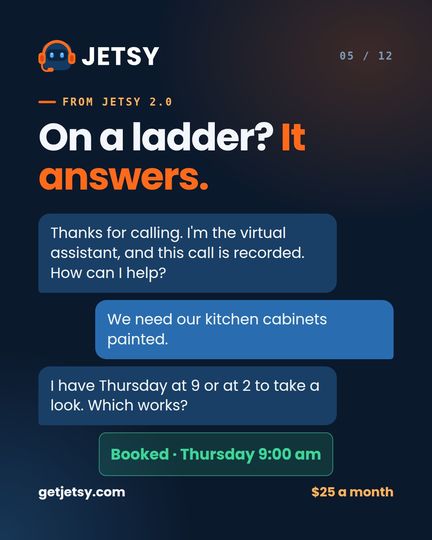
≈ 5 MINUTES- This is for Jetsy 2.0 and up. In Setup, open Phone number. Jetsy shows your Jetsy number. Write it down.
- Call your phone company, or open its app, and ask for “conditional call forwarding”: forward when busy or unanswered. Give them your Jetsy number.
- Ask for the ring count you want before it forwards. Four rings gives you first shot at every call.
- Test it: have a friend call your business number and do not pick up. Jetsy should answer. The call shows on your Calls list a minute later.
- If you ever want calls to go straight to Jetsy, ask your phone company for “forward all calls” instead. You can switch back any time.
Whether your phone rings first, how many rings, and after-hours are all set at your phone company, not in Jetsy. Jetsy never sees the call until your line hands it over.
↑ All guidesWhat callers ask
Jetsy answers from your answers. Fill in the ones you get asked every day.
≈ 5 MINUTES- Setup → What callers ask.
- Fill in your hours and the area you work in. These two come up on almost every call.
- Say what you charge for and how: a free look first, a service-call price, a price by the hour or by the job. Write it the way you would say it on the phone.
- Add the questions your trade gets: Are you licensed? Do you bring supplies? Is it safe for pets? One line each.
- Leave blank anything you do not want Jetsy to answer. For those it takes a message and you call back.
- Tap Save. Then call your own number from another phone and ask it something. Fix any answer you did not like.
If you run more than one company on Jetsy, pick the company at the top first; each one has its own answers.
↑ All guidesYour first quote and invoice
From a name to a signed quote to money in your bank.
≈ 6 MINUTES- Business → Customers → Add. Name and phone are enough to start.
- Open the customer and tap Quote. The lines for your trade are already there. Tap the ones that apply.
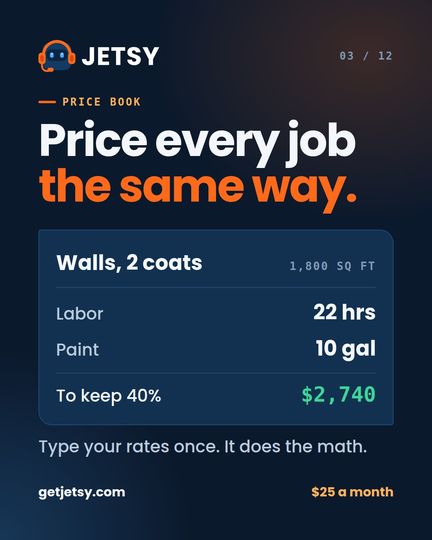
- Put your prices in. They go into your price book, so the next quote already has them.
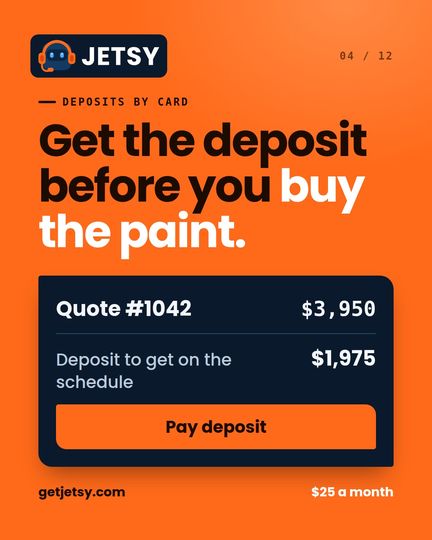
- Add before photos if you have them, and a deposit if you ask for one. Tap Send. The customer gets it by text or email and signs on their phone.
- When it is signed it becomes a work order. Do the job. Tap Done.
- The invoice goes out with a Pay now button and your after photos. Card payments land in your own Stripe account; connect it once in Setup → Get paid by card.
Quotes and invoices can be in English or Spanish for each customer. Pick it on the paper.
↑ All guidesTexting your customers
One inbox for every text to your business number, matched to the customer.
≈ 3 MINUTES- Business → Texts. Every text a customer sends to your Jetsy number lands here, with their name on it.
- Tap a text to reply. Quick replies in English and Spanish are one tap: on my way, running late, your quote is ready.
- From any customer, tap Text to start one. From Follow up, every reminder has a Text button too.
- Sending turns on once your texting number is registered with the phone companies. Setup → Phone number shows where that stands; until then you can still read every text that comes in.
A customer who texts STOP is never texted again, and Jetsy does not send texts late at night.
↑ All guidesThe crew app
Three buttons for your crew: On the way, On site, Done.
≈ 4 MINUTES- Business → Crew → Add. Their name, their cell, what you pay them.
- Tap Invite. Jetsy gives you a link. Text it to them. It works for 72 hours.
- They open it on their phone and pick a 6-digit PIN. That is their sign-in from then on, at getjetsy.com/crew.
- Assign a job to them on the dispatch board or from the job. It shows on their phone with the address, the gate code and the notes.
- They tap On the way, On site and Done. They can clock in and out, fill the job’s checklist and add photos. You see all of it.
Their phone shares where they are only while they are working with Jetsy open, and it stops after their last job of the day.
↑ All guidesCall 480-710-9816. Jetsy answers, and Joe calls you back. Or open the Help page and book a time.
Start with guide 1.
The free week is the first step. No card, about three minutes.
No card for the free week. No contract. Cancel any time. Code CRM27 takes 27% off every month you stay.